My new Envirovent arrived Friday afternoon; all shiny and new and... uncorroded. Isn't it pretty?


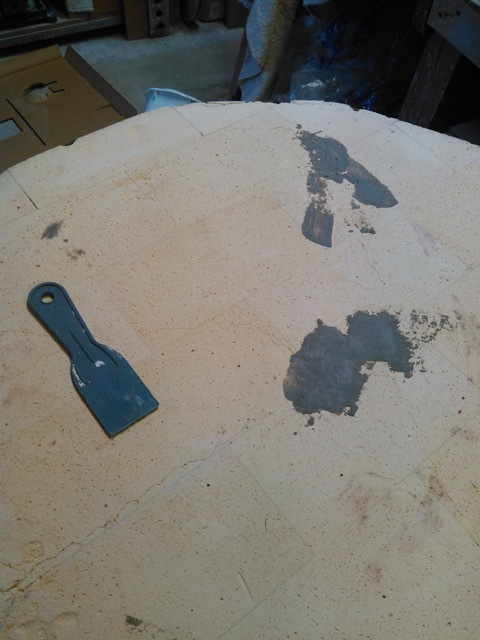
It took most of Sunday afternoon, and a good bit of Monday to install. First I had to patch the holes in the bottom slab, then drill new holes, in a different diameter and configuration. Then I had to mount the fan on the wall, where I discovered that the old vent used 4" ducting, and the new one only 3", so I had to scrounge up some insulation to pack around the pipe, and I still need to jury-rig a collar and vent hood on the outside of the wall to keep the fiberglass in.


After that, it was a matter of connecting the bits. Screwing the hose clamps tight, to connect the dryer duct to the fan, and to the "plenum cup" that goes under the kiln. Threading the spring onto the monopod and the pod into the cup and then--the hardest part--lining the darn thing up so it's tight against the bottom of the kiln, right in the middle, where the new holes are drilled.
After that, it's just reassembling the kiln, stacking and aligning the rings, latching them tight, putting the circuit box back on and connecting the wiring. (One of the trickier bits, as these first-generation computer kilns aren't as well designed. I had to figure out how to stuff three thick wire leads into a screw block designed for at most two. Took sleeping on the problem to realize the trick is to untwist the twisted wire leads, making it easier to pack them into the crowded space.)
Lastly, reattach the lid, put in the peephole plugs, and test the fan. Which you do by turning it on, then putting a lighter next to each of the holes in the lid and watching the flame get sucking into the kiln. Which it did. Success! And I'm no longer tripping over kiln parts in the middle of my studio.


